Papers
Home Management Binder Free Printables: 10 Pages to Print Tonight
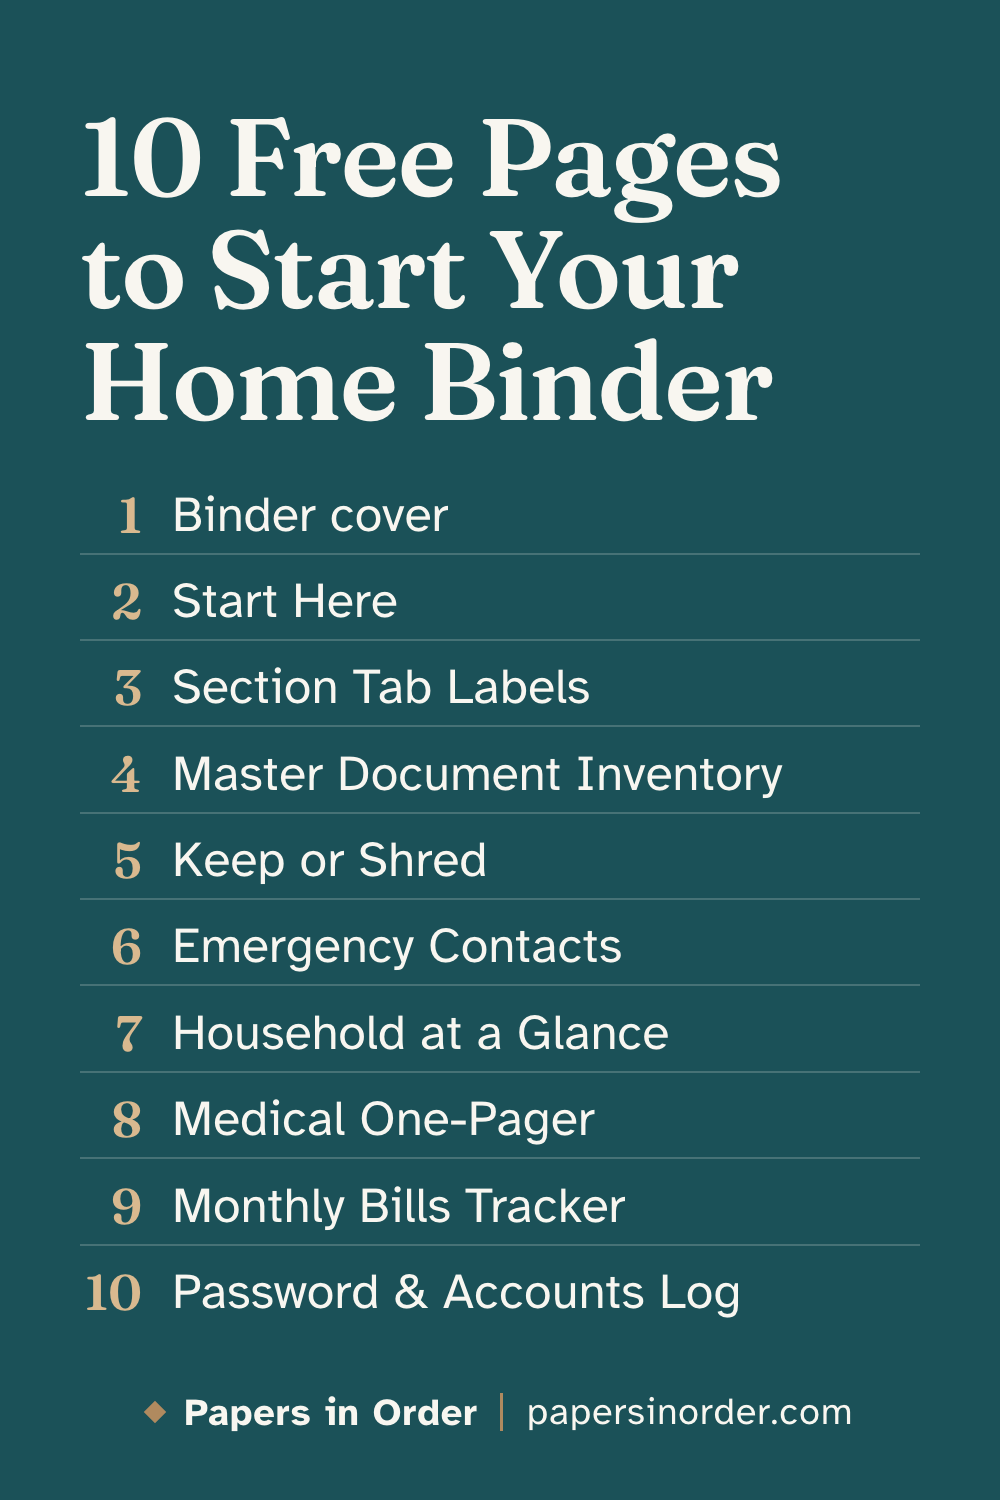
These home management binder free printables are ten plain pages that give your household paperwork one place to live. There are no pastel banners and no 400-page bundle, just the pages a household actually uses. This post walks through all ten pages, what each one is for, how to print them and how to put the binder together in one evening.
What you get: the ten pages
The free Home Binder Starter is one PDF, US Letter size, printed in dark ink with light shading and no solid color blocks, so it is easy on a home printer. It follows the same six sections we use for any home binder: Documents, Medical, Money, Home, Contacts, and Passwords and Accounts. If you want the reasoning behind those sections first, read what to put in a home management binder.
Here is every page, in order.
1. Binder cover
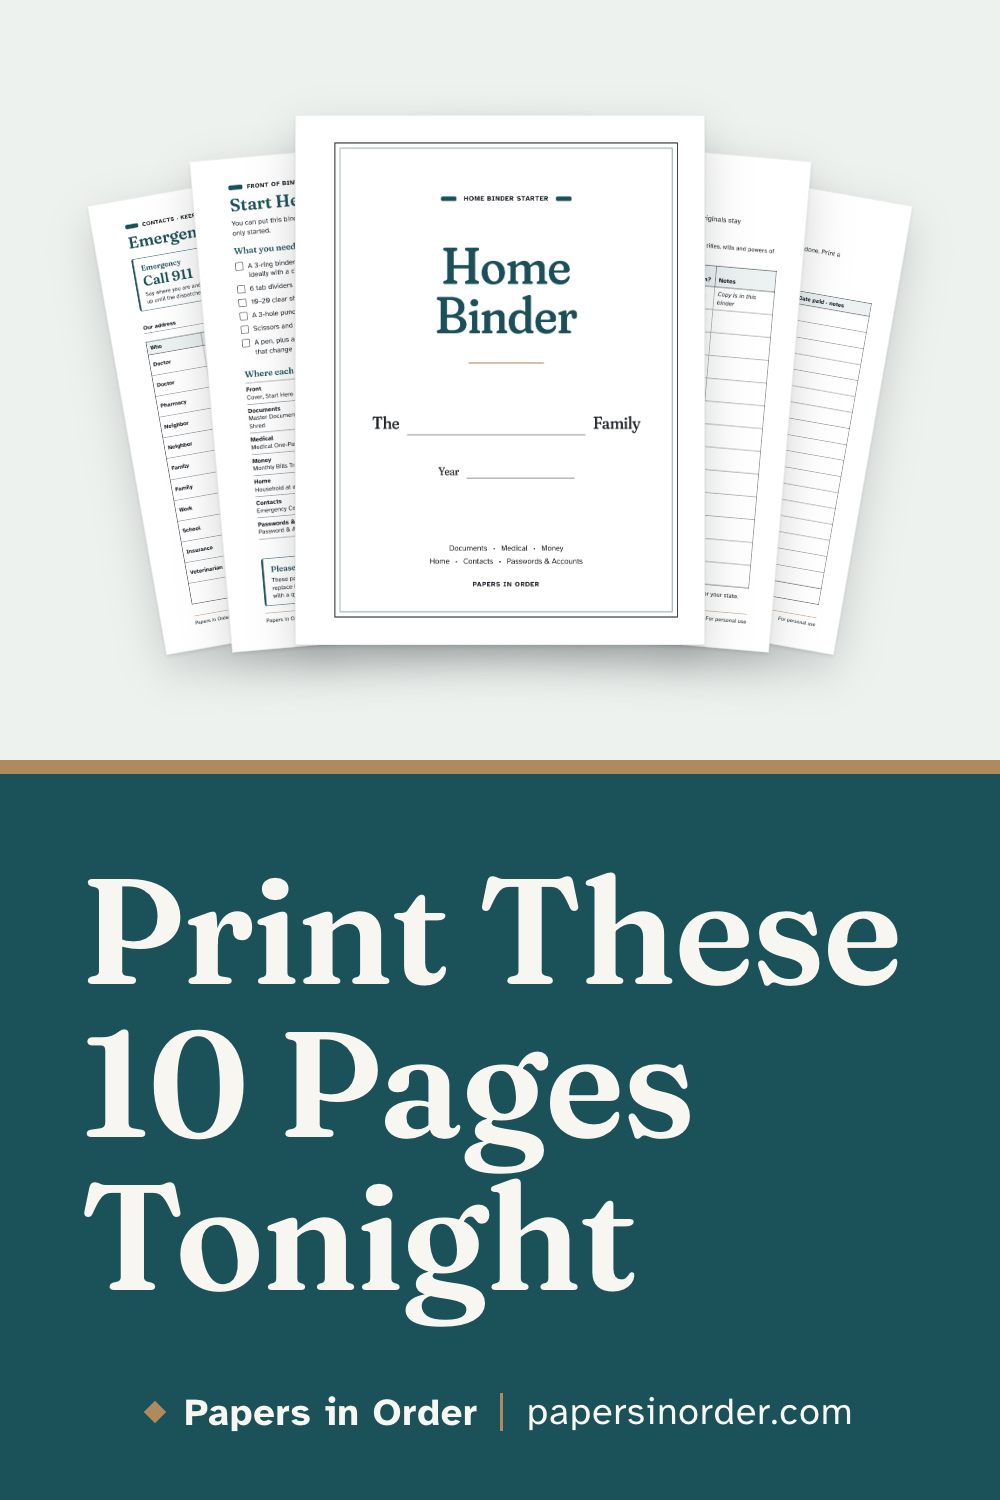
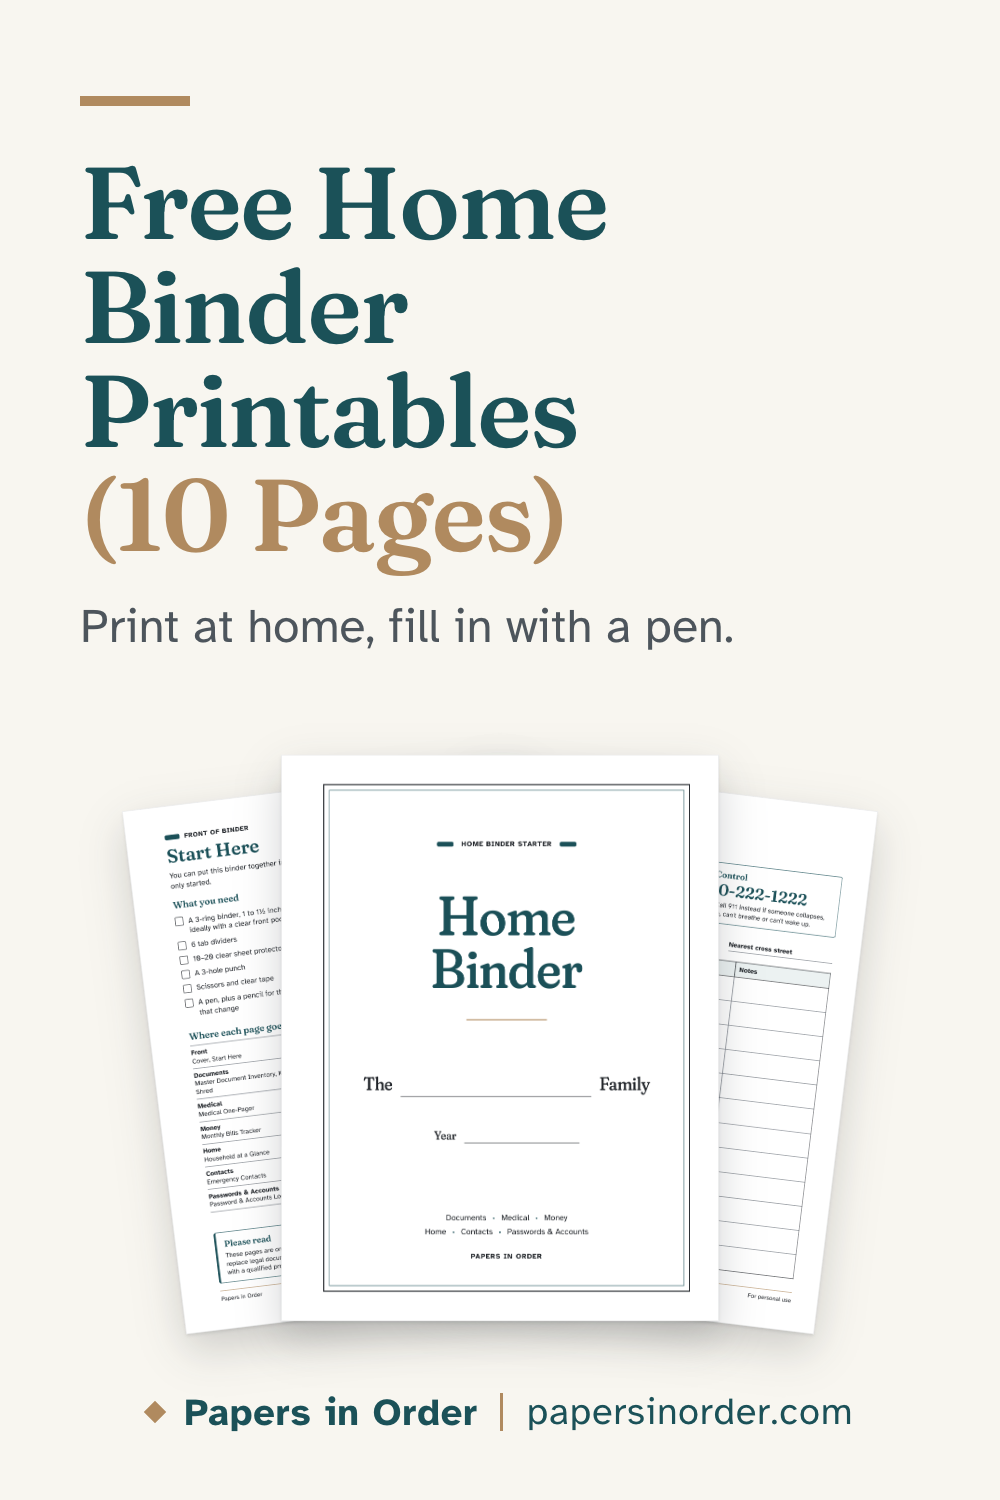
A clean cover with lines to write in your family name and the year. It also lists the six sections, so anyone who picks up the binder knows what is inside. Slide it into the clear front pocket of your binder.
Why it helps: a labeled binder gets put back in the right place. An unlabeled one ends up in a pile.
2. Start Here
A one-page setup guide. It lists the supplies you need, shows which page goes behind which tab, and gives eight short steps to build the binder. It also includes a note that these pages are organizing templates, not legal, tax, financial or medical advice.
Why it helps: if someone else opens the binder, this page tells them how it is organized.
3. Section Tab Labels
Cut-out labels for your six dividers. There are small strips to trim for the divider tabs, and larger cards to tape on the front of each divider. Each card has a one-line reminder of what the section holds. The Passwords and Accounts card, for example, says to write account details with password hints, never the passwords.
Why it helps: clear tabs mean you can find a page in seconds.
4. Master Document Inventory
A table for your important papers. For each one you write what the document is, who it belongs to, where the original is kept, whether there is a copy or a scan, and any notes. The top of the page gives ideas: birth and marriage certificates, Social Security cards, passports, deeds and vehicle titles, wills and powers of attorney, insurance policies, military records and pension papers.
A note at the bottom covers legal documents. For a will or power of attorney, you record where the original is kept. A qualified attorney prepares those documents for your state. The page does not include any legal forms.
Why it helps: originals stay somewhere safe, and your family still knows where to look.
5. Keep or Shred
A one-page guide to how long to keep common household records. It groups records into keep forever, keep until replaced or sold, keep 7 years, keep 4 years, keep 3 years, keep indefinitely, keep 1 year, and shred after verifying.
A few examples from the page:
- Keep forever: birth certificates, Social Security cards, military service records, and passports, including expired ones, since they can serve as proof of citizenship
- Keep until you sell: vehicle titles
- Keep until you collect Social Security: W-2 forms
- Keep 3 years: supporting tax paperwork such as 1099s, receipts and records of deductions, counted from when you filed or the due date, if later
- Keep 1 year: bank statements, credit card statements, pay stubs and utility bills, longer if needed for taxes, a loan or a dispute
Most retention periods come from IRS and FTC guidance; a few lines reflect common practice. The page also prints where to check the guidance yourself. It is an organizing guide, not tax or legal advice. Rules vary, so confirm with a tax professional.
Why it helps: you can clear out a drawer without worrying you just shredded something you need.
6. Emergency Contacts
The page for the refrigerator door. The top has 911, with a reminder to say where you are and what happened and not to hang up until the dispatcher tells you to. It also has Poison Control, 1-800-222-1222, free and open 24/7, with a note to call 911 instead if someone collapses, has a seizure, can't breathe or can't wake up.
Below that are lines for your address and nearest cross street, then rows for doctors, pharmacy, neighbors, family, work, school, insurance and the veterinarian.
Why it helps: in a stressful moment, nobody has to search a phone for a number.
7. Household at a Glance
Everything tied to the house on one page. Home address, who has the spare key, and the landlord or HOA. A utilities table for electric, gas or heating oil, water and sewer, trash, and internet and phone. An insurance table for home or renters, auto, health and life. And three boxes for where the water main, gas shutoff and breaker panel are.
Why it helps: when a pipe bursts, the shutoff location is already written down.
8. Medical One-Pager
One page per person. It has a "last updated" line, name, date of birth, blood type and preferred hospital. Then allergies and reactions, medical conditions, and a table of current medications with dose, timing and who prescribed each one. At the bottom are doctors with specialty and phone, insurance company and member ID, Medicare or Medicaid number, and an emergency contact.
Why it helps: it is the page you hand over at an appointment or take to urgent care. Print one copy for each person in the household.
9. Monthly Bills Tracker
A table for the month and year. List every bill once, with who you pay, the due date and the amount. Check Autopay if it pays itself, check Paid when it's done, and add the date paid or a note. There is a total line at the bottom. Print a fresh page each month.
Why it helps: anyone can see at a glance what is due and what is already handled.
10. Password & Accounts Log
A table for your accounts: account or website, username or email, password hint, recovery phone or email, and notes. The page says it plainly: write a hint, not the password. If you use a password manager, which is safer still, you list your accounts here and note where the manager's recovery details are kept.
Why it helps: your family can find your accounts without a page of passwords sitting in a binder.
How to print the pages
The pages are made for a home printer. A few settings make a big difference.
- Paper: US Letter, plain paper. No cardstock needed.
- Scale: choose "Actual size" or 100% in your print settings. "Fit to page" shrinks the boxes and lines, which makes them harder to write in.
- Sides: print one-sided. You will punch holes along the left edge, and double-sided pages are harder to file and update.
- Ink: there are no solid color blocks, so all ten pages print without draining a cartridge.
- Punching: the wide left margin leaves room for a standard 3-hole punch, so nothing you write gets punched through.
Print extra copies of the pages you will use more than once. That usually means one Medical One-Pager per person and a few Monthly Bills Trackers.
How to put the binder together in one evening
The Start Here page has the full steps. Here is the short version.
What you need:
- A 3-ring binder, 1 to 1½ inches, ideally with a clear front pocket
- 6 tab dividers
- 10 to 20 clear sheet protectors
- A 3-hole punch
- Scissors and clear tape
- A pen, plus a pencil for things that change
Then:
- Print all ten pages at full size, one-sided, on plain paper.
- Label the dividers. Cut out the section tab labels and tape them to your six dividers.
- Punch and file. Put the cover and Start Here at the front. File the rest: the inventory and Keep or Shred under Documents, the medical page under Medical, the bills tracker under Money, Household at a Glance under Home, Emergency Contacts under Contacts, and the Password & Accounts Log under Passwords and Accounts.
- Fill in Emergency Contacts first. It is the page you would need fastest. Put a copy on the fridge.
- Walk the house with Household at a Glance and find the shutoffs.
- Gather your papers and list each one on the Master Document Inventory, with where the original is kept. Keep the originals out of the binder.
- Use pencil for what changes, like medications and bills, and date your updates.
- Tell one trusted person where the binder lives. Keep it somewhere private, since it holds personal details.
You do not have to finish every page tonight. A binder with the contacts page done and the rest started is already useful.
What to do when ten pages are not enough
Ten pages cover the basics for most households. Over time you may want more. Some simple ways to grow the binder:
- Print more of what you already use. Another medical page when someone new joins the household. A new bills tracker each month.
- Add a sheet protector for key copies. A photocopy of an insurance card, for example. Keep the original somewhere safe.
- Add a page only when you will keep it up. A binder stays useful because it stays current. More pages you never update make the whole thing harder to trust.
- Take the next step when life changes. Helping a parent, a new baby, or a move usually brings new paperwork. Add a section then, not before.
As you add pages, keep the same six tabs. They hold up well, and anyone who has used the binder once will know where to look.
Get the free Home Binder Starter
All ten pages are free. Enter your email and you go straight to the download page, where you can save the PDF and print it tonight. You can read more about the set on the free binder page, or use the form below.